


From Monday to Friday 09:00am - 18:00pm
Free delivery from 160€
Telephone advice / live chat / email
Satisfied or refunded 14 days
2 years warranty
On our blog : How to set a slackline without tree
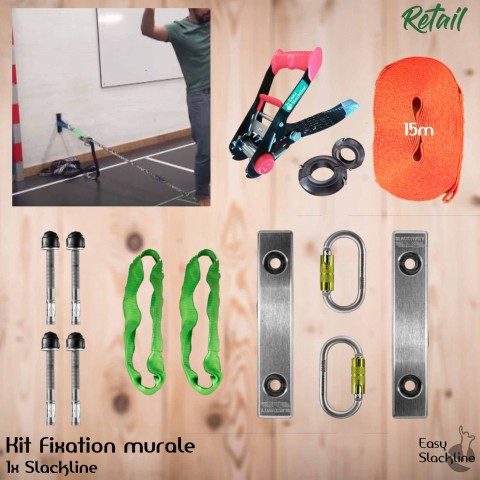
A wall mount to install your slackline(s) indoors : gym, fitness room, health club...
The Wall Mount is the perfect solution to safely practice slackline indoors. You can adapt your setup to your practice level, number of users... Very versatile !
It's a permanent installation with an easy and simple anchoring system.
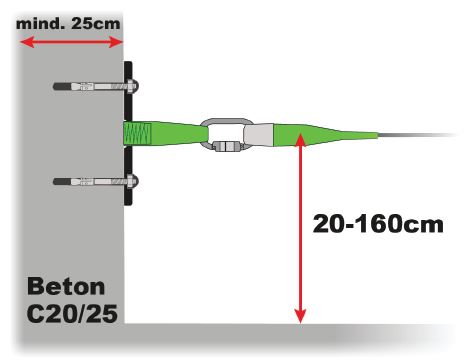
Thanks to the "Flat" System, the wall mount sheets don't almost protrude from the wall so you can safely practice other activities around! It's a permanent setup with a very quick to installa and simple fixing system.
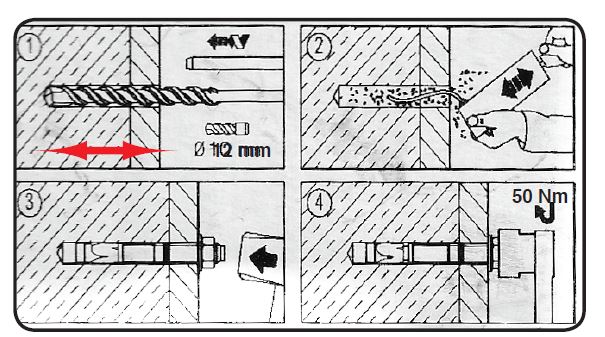
The installation consists in one sheet to fix on a concrete wall using expansion dowels (not included). Don't install the Wall Mount on anything else but a concrete wall.
To install, just drill into the wall with a power tool and an adapted drill bit, insert the expansion dowels with a hammer, pass the anchor webbing around the dowels and then screw it. It is very simple if you know just a little bit how to tinker. See the user guide in the "documentation" section"
On this page, you find will find to types of fixing systems : Wall Mount 1 and Wall Mount 2. They are sold as it is, per unit, without slackline.
For a complete indoor kit : click there
What are the potential setups ?
- For one slackline :
- 2x "Wall Mount 1"

- For two slacklines :
- Either 2x "Wall Mount 1" and 1x "Wall Mount 2" - 2 slacklines on the same anchor point.(Solution 1)
- Or 4x "Wall Mount 1" (Solution 2)

- For three slacklines :
- Either 2x "Wall Mount 1" and 2x "Wall Mount 2" - 2 slacklines on the same anchor point. (Solution 1)
- Or 6x "Wall Mount 1", if the slackline are away one from the others (Solution 2)

In addition, you need also to purchase the correct amount of slacklines
If you need to purchase complete kits including "Wall Mount 1/2"+ Slackline Kits : click there
Using advices
- Read carefully the user guide, follow respectfully the instructions : PDF available in the "documentation" section.
- Fixing the "Wall Mount" is very simple and can be done by anyone who know how to use a power tool (drilling machine) and a hammer.
Important to know : steel bolts are conceived for concrete wall only - for other support, it's mandatory to ask someone specialized. - The "Wall Mount" is a permanent setup. It allows to take away the slackline kit(s) after use while the fixing system remains on the wall.
- For Freestyle practice, we recommend to use 4x "Wall Mount" for 1 Slackline Kit : 2 "Wall Mount" on each side to split the forces on the anchors points. (for safety reasons)
- Tools not included - see product content below.
Incompatibilities
- Read carefully the user guide, follow respectfully the instructions : PDF available in the "documentation" section.
- Don't tighten it on urban furnitures (volley/tennis post, lamppost, handrail)
- For Freestyle practice, we recommend to use 4 "Wall Mount" for 1 Freestyle Slackline Kit. Reason ? to split the forces on the anchors points. More safety.
Product content - For WM1 and WM2
- Wall Mount 1
- 1x fixing sheet - 1 point
- 2x expansion dowels
- 1x small sling for anchoring
- 1x Steel carabiner
- 1x User guide
- Wall Mount 2
- 1x fixing sheet - 2 points
- 3x expansion dowels
- 2x small sling for anchoring
- 2x Steel carabiner
- 1x User guide
Sheets can be black or grey regarding our stock.
Weight and volume
Responsability
Slacklining and particularly Highlining are sports having no legal framework or norms concerning the gear or the setup.
Consequently we cannot warranty our gear for Highlining.
Our products are tested by independent labs (Apave) and inside of our company via a process evolving with practice.
The results of those tests have no legal values, they aim to ensure the safety and comfort of using our equipment.
It is the responsibility of the slackliner to choose the right gear with adequate resistance and to have the necessary experience to adapt his installation to his practice.
Generalities
- Don't rig your slackline across a path,a road or any crossing
- Don't rig your slackline higher than 2m
- Ride on a grassy or soft ground, without roots or rocks
- Always backup your setup
- Never use ratchets for highlining
- Never use urban furniture as anchor point
This equipment is absolutely not made for highlining. Find more information on our website highline.fr
Items cannot be considered as PPE (personal protective equipment)
Vidéo Setup
User guide 1/2 - Click there to download
User guide 2/2 - Click there to download
----------------------------------------------------------------------------------------------
Your firsts steps with Romain Billard :
Tuto Slackline : Les premiers pas
par Cabinet-de-Curiosites
How to and 17 basic tricks
Click there to download
Safety – back up guide - protect your set up and yourself.
-----------------
How to determine the tension in your slackline ?
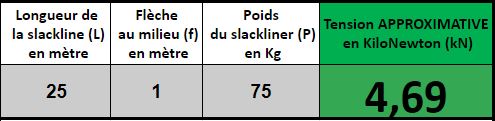
- Our spreadsheet :
Thanks to the following sheet, you will be able to approximately know the tension into your gear (slings, shackle, slackline, etc.). You will then know if you are using it correctly, meaning correctly regarding the using advices and most important the strength limits.
Click there to see the sheet and enter your datas
- The dynamometer or Linescale
This product allows you to mesure exactly what is the tension into your equipment.
For more informations click there.

SUGGESTED ADDITIONAL PRODUCTS
-
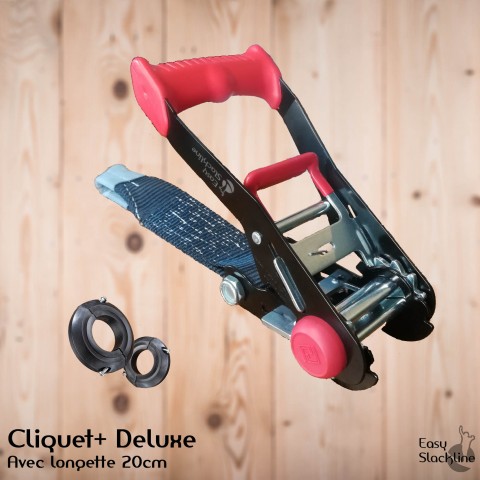
Ratchet+ Deluxe
19,44€ -
CaptivPin slackli...
11,12€ -
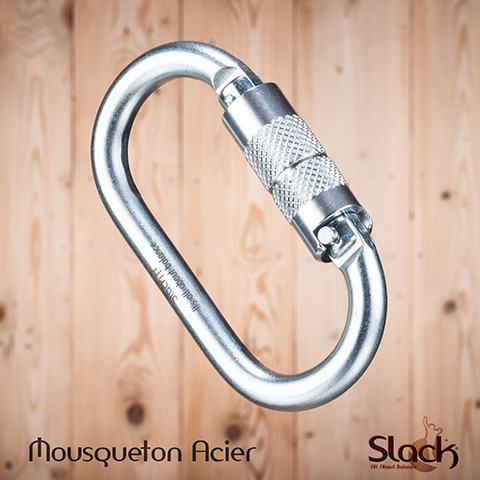
Slackline steel c...
8,39€ -
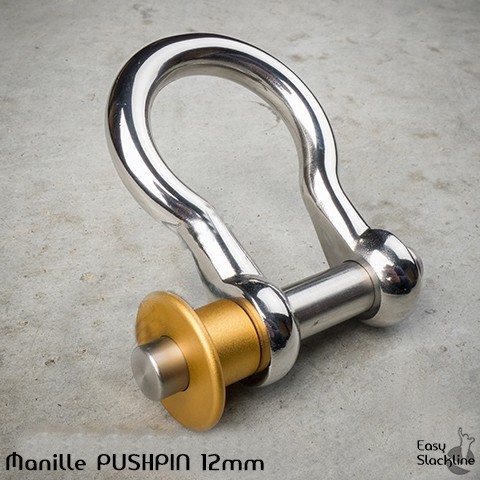
PushPin 12mm shac...
13,93€ -
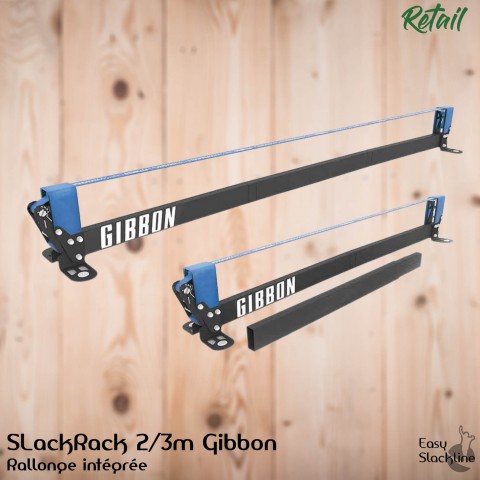
SlackRack 2m or3m...
429,00€ -
Kit Indoor - Wall...
281,94€