


From Monday to Friday 09:00am - 18:00pm
 View larger
Sewn Loop - Webbing In stock
Free delivery from 160€
Telephone advice / live chat / email
Satisfied or refunded 14 days
2 years warranty
Simple, convenient and resistant, the sewn loop is "the thing" when connecting a slackline!
The sewn loop allows you to attach your slackline directly to the connector. No more need of a line lock or a banana to tighten your slackline ! At least on one side ;-)
Convenient for light or travel setup!
Technical specifications
- The sewing is composed of 9 bartack stitches. It is sewn with an industrial machine which guaranteed a regular and uniform resistance for all the sewn loops.
- A protective sleeve is added to the loop to minimize frictions and wear and tear on the connector.
- A heat shrink sleeve surround the stitches to protect it from dust, frictions on other elements (in particular while manipulating it or transport/storage)
- When sewn, the webbing is also named and labelled (on the sleeve)
- Resistances of sewn loops may differ from the original webbing resistance.
For further informations on sewn loops resistance, go directly on the webbing page. Click there
- For exmple Slodki webbing : 25,4kN

- For exmple Slodki webbing : 25,4kN
- The given resistance comes from an independent laboratory (Mecanium).
For further informations : click there (French only) - A sewn loop do not shorten your slackline if you choose it as option when ordering. But if you sent us your webbing to sew a loop, we will use 20/25 cm of the webbing to sew the loop.
Using advices
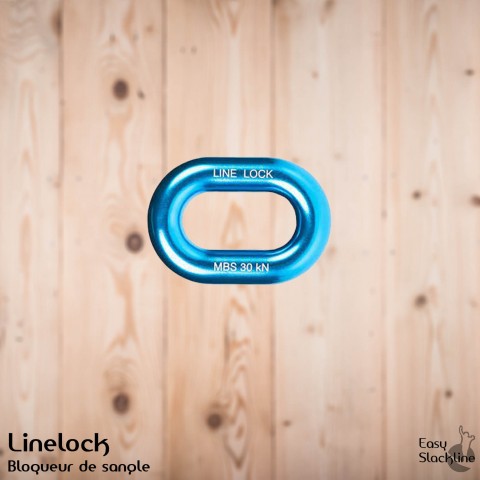
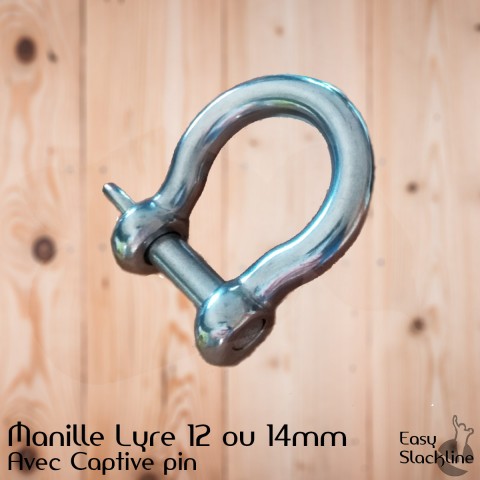
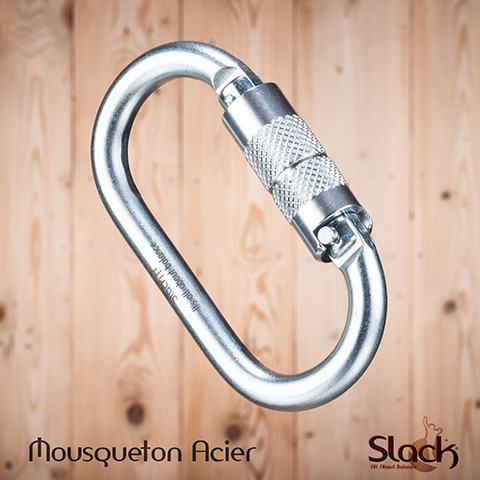
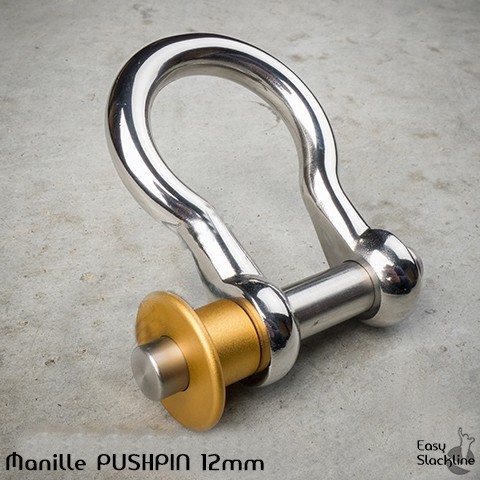
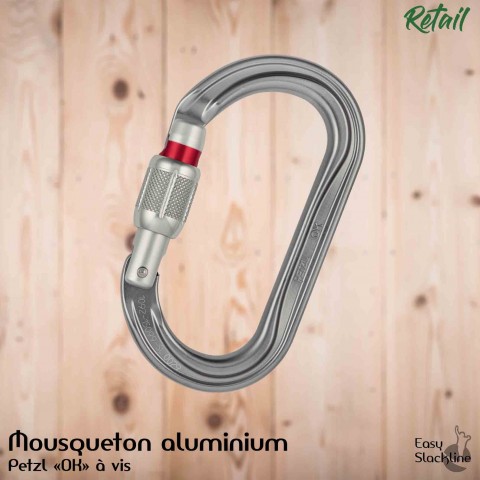
- Perfect to attach your slackline to all kind of metal connectors : carabiners, shackes, etc.
- Regardless of the webbing composition (polyester/dyneema/hpme), do not use a sewn loop on a setup longer than 60m.
- The equipment can stay in place for a few days (2/3 maximum). But the installation should preferably be removed after each session.
- Store your equipment dry and clean, away from U.V/moisture/heat sources
- Using tree protections is always a plus
When using the sewn loop for a girth hitch, it's way better to place some tree protections to avoid the early wear and tear of your webbing and loop.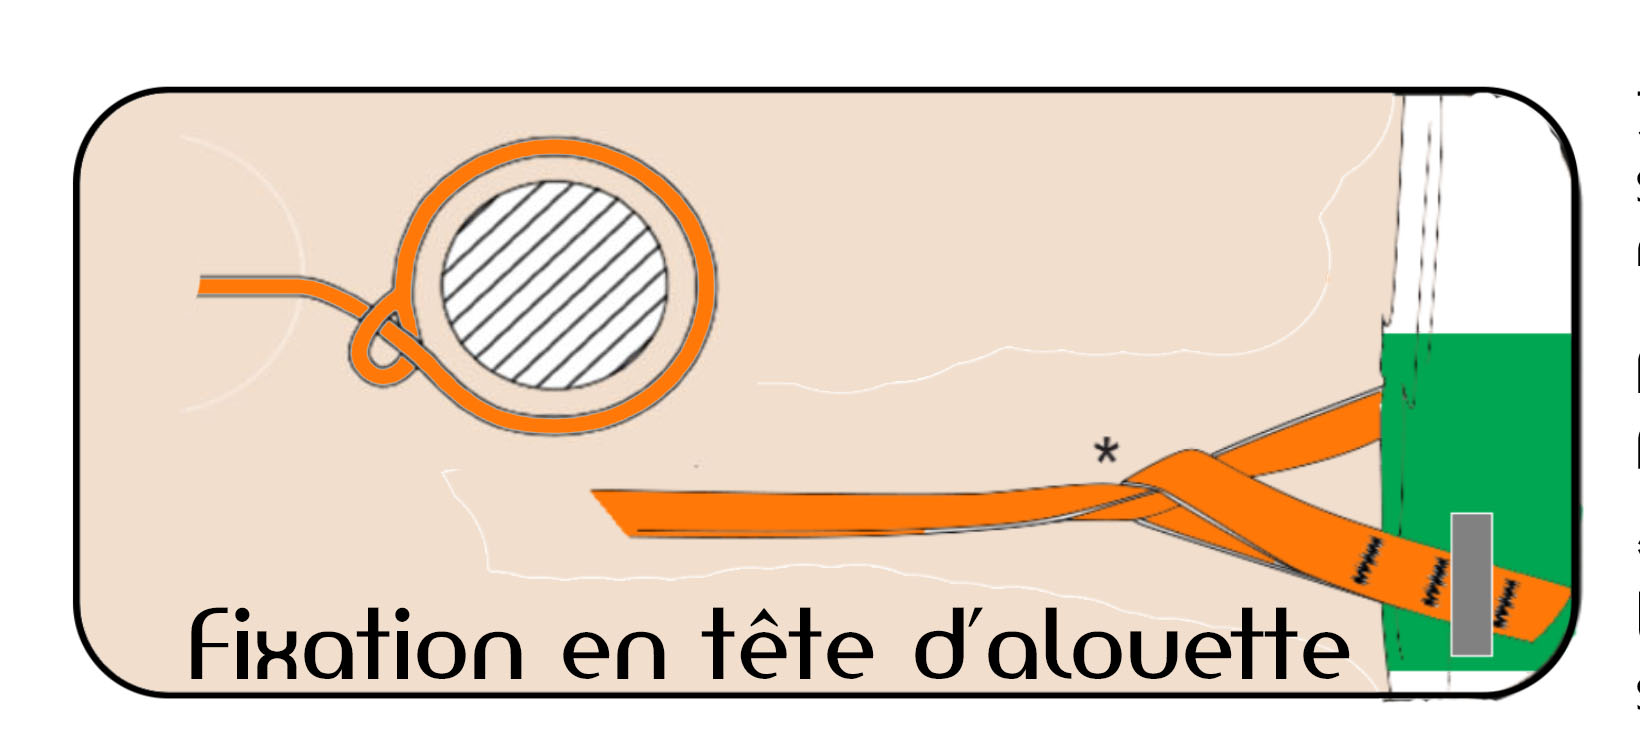
Incompatibilities
- We don't recommend to have more than 7kN tension in all slacklines/tensioning systems excepted for Freestyle.
For sewn loops, don't go over half of the breaking load resistance to keep a good safety margin. To approximatively mesure the tension, please read the informations in the "Documentation" section - Slacklines longer than 60m
- Pay attention to the wear and tear from the loop with soft shackles. Each frictions damage a little the loop, check the loop at each use, after and before.
- All loops on 25mm wide webbing are not suitable for Freestyle
Responsability
Slacklining and particularly Highlining are sports having no legal framework or norms concerning the gear or the setup.
Consequently we cannot warranty our gear for Highlining.
Our products are tested by independent labs (Apave) and inside of our company via a process evolving with practice.
The results of those tests have no legal values, they aim to ensure the safety and comfort of using our equipment.
It is the responsibility of the slackliner to choose the right gear with adequate resistance and to have the necessary experience to adapt his installation to his practice.
Generalities
- Don't rig your slackline accross a path,a road or any crossing
- Don't rig your slackline higher than 2m
- Ride on a grassy or soft ground, without roots or rocks
- Always backup your setup
- Never use ratchets for highlining
- Never use urban furniture as anchor point
This equipement is absolutely not made for highlining. Find more information on our website highline.fr
Items cannot be considered as PPE (personal protective equipment
Safety – backup guide (safe installation)
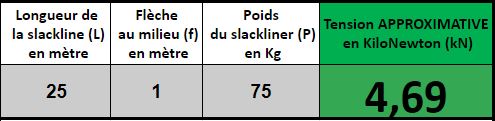
How to determine the tension in your slackline ?
- Our spreadsheet :
Thanks to the following sheet, you will be able to approximately know the tension into your gear (slings, shackle, slackline, etc.). You will then know if you are using it correctly, meaning correctly regarding the using advices and most important the strength limits.
Click there to see the sheet and enter your datas
- The dynamometer or Linescale
This product allows you to mesure exactly what is the tension into your equipment.
For more informations click there.
