


From Monday to Friday 09:00am - 18:00pm
Free delivery from 160€
Telephone advice / live chat / email
Satisfied or refunded 14 days
2 years warranty
Let's go - now we want to play in the major league and get the right gear !
So if you're looking for a quadruple pulley tensioning system for 50m long, and even more in the future, you're at the right place !
The quadruple pulley system with multiplier (maxi single pulley) allows to tighten alone the 50m slackline webbing.
Not familiar with a slackline pulley system with multiplier ?
I pre-install the pulleys for you before we ship your order. So the kit arrives ready to use!
The good thing about the pulley system is that once you have set it up, you will not have to do it again. Then tensioning system (rope into the pulleys) will be once and for all ready for all your slackline sessions.
What slackline webbing should i choose ?
There are several types of slackline webbings :
Tubular slackline webbings, stretchy, bouncy (swell), comfy. Only the color is different, and that is your choice ! Up to you !
Flat slackline webbings. They are easier to tighten because stretchless, hyper comfy with their round edges. Same as previous, only color is the difference between them.
- The Slodki or the ShaQ (twins)
- The Moonwalk - flat hybride webbing. Lightest and less stretchy slackline webbing (slackline and highline world record).
Using advices
- On 50m, at the height of the raised arms. If you want to know more slackline tension click here
- The goal is to walk one a "slack" "line", means it should be more or less "slack" (loose) - the pulleys should be used to tighten the whole length not to tighten stronger over short/middle distances.
- A maximum of 2 persons is allowed to pull at the same time.
- Keep you pulleys system so (rope into pulleys), he will be ready for the next session.
- Store you kit dry and clean, away from moisture. (like all textiles). Click here for more details about how to store and maintain slackline equipment.
Incompatibilities :
- Do not set on street furniture (posts, lampposts, etc.), nor on the pole of your terrace or balcony! They are not at all designed to withstand horizontal forces!
Let's see here what could happen : click here - No Jumpline/Trickline. You want to practice Freestyle ? Look out for Freestyle equipment like the Trickline kit.
- The slackline loop should not be used over a maximum of 65m on the ground
Weight and volume
- 12Kg
- 25 L
Tree Protections : +0,3 Kg
Tips
- To tighten efficiently, pull with your back straight and your foot leaning against the tree.
- Use a piece of the rope to make a handle, it will help you to grip the rope and "burn" your hands when pulling. See "documentation" section
- Use a releasable stopper knot to avoid any rope slippage into the brake. See "documentation" section.
- You will be able to tighten alone at height face, maybe more, but if you want the line to tighten longer, you need to be two persons to pull.
Upgrade your slackline kit :
The kit exist too with 100m
Product content
- 1x 50m thin slackline webbing (2,5cm) with eyeloop on each end. Check the Breaking Strength of your webbing here
- 2x weblock - banana, branded Spider Slackline - Slackibloc 4.0 (made in France), resistance 50kN
- 1x sling 2m 1T. Resistance 60kN
- 1x sling 3m 1T. Resistance 60kN
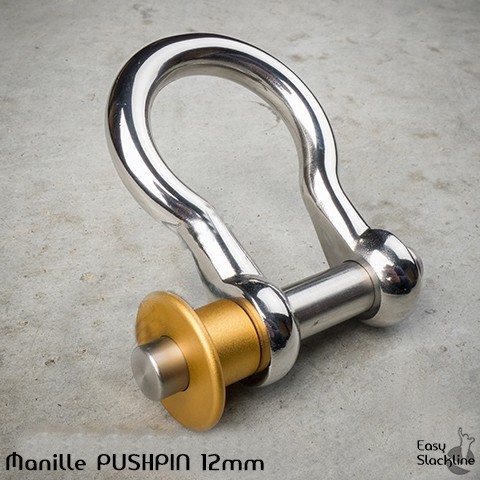
- 3x Anti-loss pin shackle 12mm. Resistance 65kN
- 1x rope brake STAUP + 1x 8mm twist shackle
- 2x mini Quadruple pulleys
- 1x 50m semi-static cord 6mm for pulleys + 1x mini shackle
- 1x 1,5m cord 6mm (for the Klemheist knot use to increase your strength - use in the multiplier)
- 1x Maxi pulley with double ancorage. Resistance 28kN (use in the multiplier)
- 1x Drybag 20L
- 1x user guide
Options to add - Feel free to choose
-
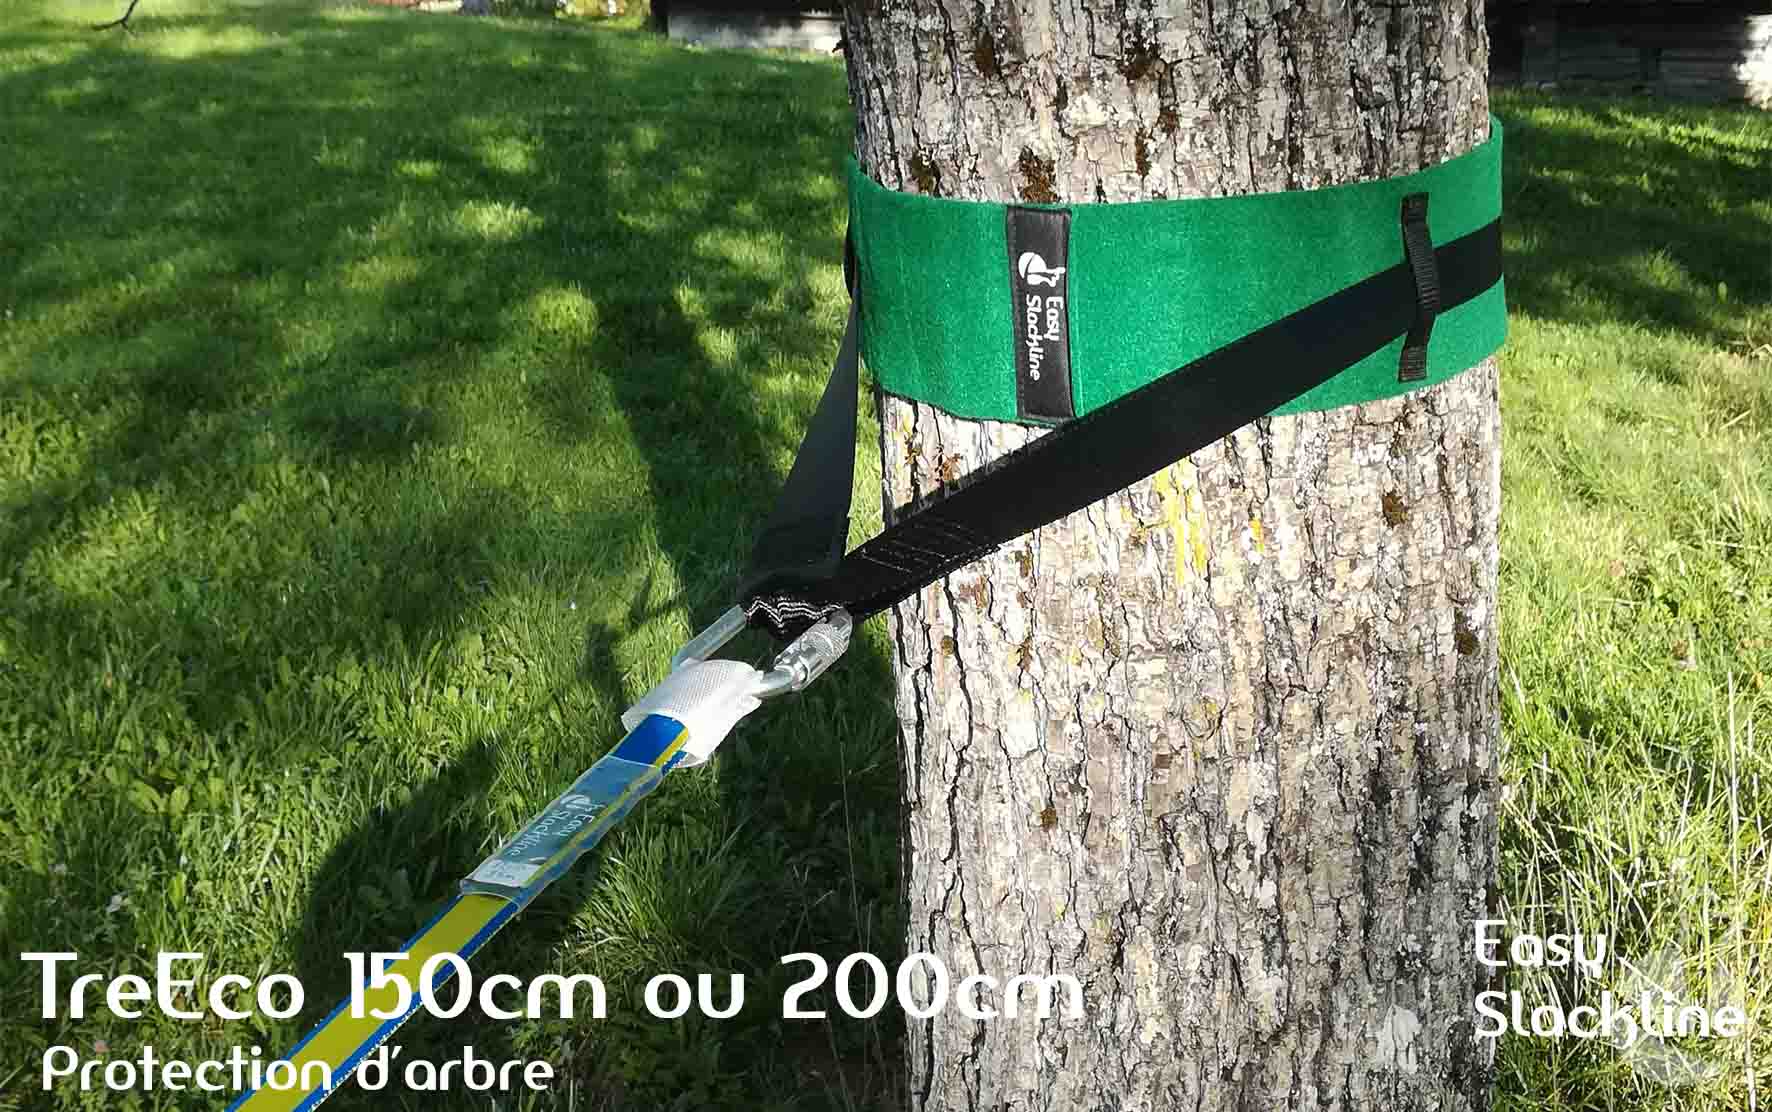
Tree protections = Treeco 150cm or 200cm
- Tree Protections protect both trees and equipments.
- They are also very useful for the setup (see video)
-
Custom webbing
- Don't forget to add your text in the comment section when ordering. (at the validation step 03.Adress)
- Font : Amerika Sans (see picture)
- 18 font characters - spaces included
- Font color : black
- Printed on the tail of the webbing, side of the loop by default
- Choosing a printed webbing add 2/3 days to your order's delivery
- For more details on how works this option : slackline customization
(None-available on Moonwalk)
.jpg)
Responsibility
Slacklining and more particularly Highline (in the void, secured by a harness) are sports practices that have no normative or regulatory framework for the manufacture of the material as well as for its installation.
This is why we do not guarantee our own equipment for highline use.
Our products are tested within our company and independent laboratories (mentioned on the product page) via a process that evolves with practice.
These resistance tests have no legal value, they aim to ensure the safety, resistance and comfort of use of our equipment - in the context of our practice.
It is the responsibility of the practitioner to choose the equipment with the appropriate resistance and to have the necessary experience to adapt the installation to his practice.
And to use appropriate equipment to secure oneself if necessary, such as PPE equipment (climbing gear, ropes, etc.).
Generalities
- Do not install your slackline across a path, trail or place of passage
- Do not install your slackline more than 2m from the ground without securing yourself with PPE equipment
- Practice on grassy or cushioned ground free of any protruding objects or objects that could cause injury
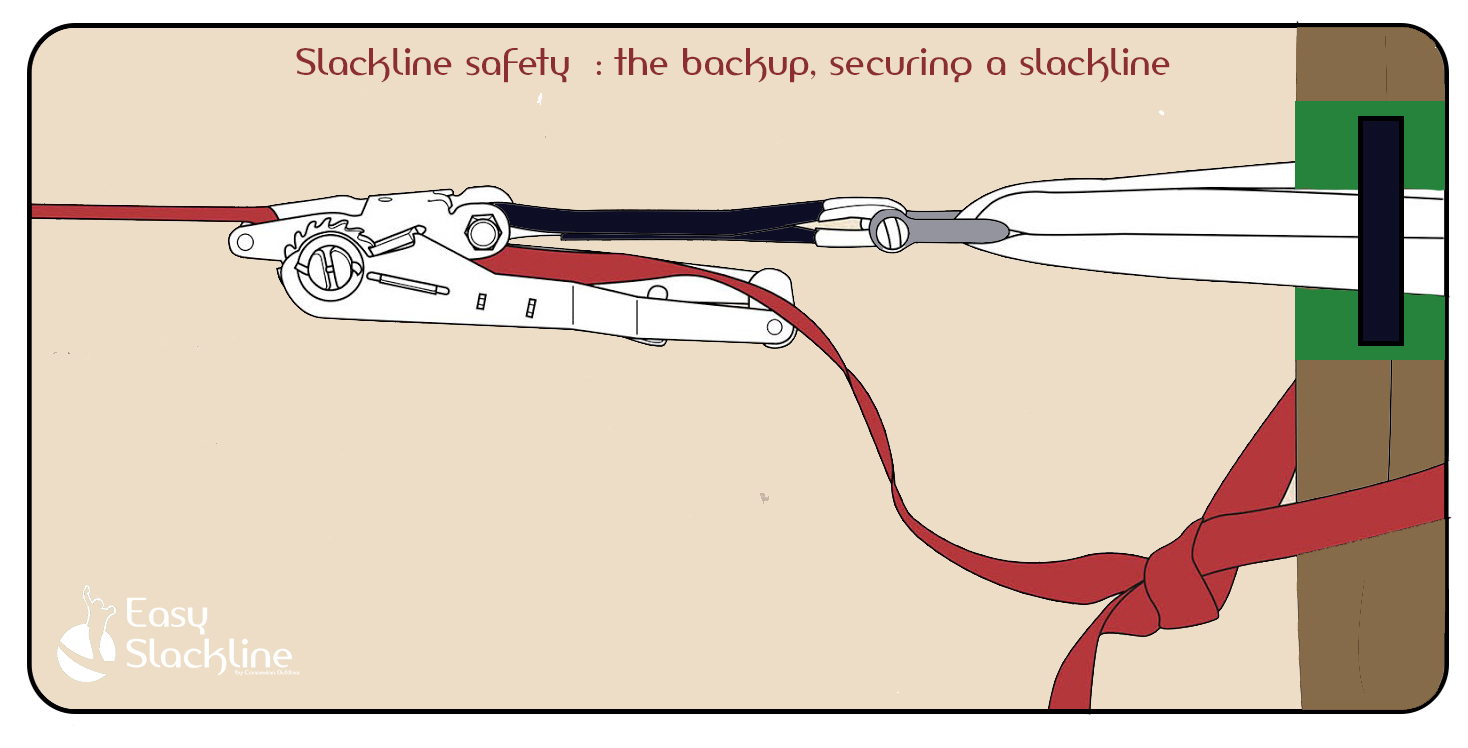
- Do a back up = secure your tension system
- Never use a ratchet for highline practice
- Never install your slackline on urban furniture (benches, lampposts, barriers, etc.)
Safety regarding highlining
It is the responsibility of the practitioner to use appropriate equipment to secure oneself if necessary, such as PPE (climbing equipment, ropes, etc.).
In NO CASE is this equipment designed to secure itself. For the lifeline - called backup - we advise to use only PPE standard material (climbing material, ropes, etc).
Unless expressly mentioned, no slackline element can be considered as PPE (personal protective equipment) for sports and leisure activities
NEVER USE SLACKLINE MATERIAL TO SECURE YOURSELF / TIE YOURSELF DOWN. IT IS NOT CLIMBING EQUIPMENT, NOR IS IT EPI STANDARD EQUIPMENT.
You can find more information on our website highline.fr
Download all our PDF installation manual (choose yours in the list) by clicking just below :
----------
Video Set Up
View from 1 minute - quadruple pulleys, once fitted, can be used like double pulleys for tensioning and dismantling.
----------------
MULTIPLIER ON THE PULLEYS SYSTEM - SET UP
A mechanical advantage, gives you more strength to pull further.
RELEASABLE STOPPER KNOT AFTER THE BRAKE - SET UP
To avoid any rope slippages into the brake and secure your installation.
HOW TO MAKE A ROPE HANDLE TO GET A BETTER GRIP
It eases the grip when a you are pulling the rope. Better for your hands !
----------------
How to slackline, including 17 easy tricks :
click here to download)
----------------
Slackline Safety - back up guide - protect your set up and yourself.
-----------------
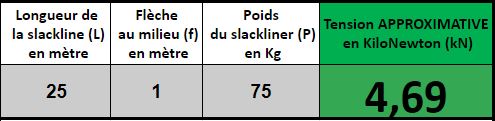
How to determine the tension in your slackline ?
- Our spreadsheet :
Thanks to the following sheet, you will be able to approximately know the tension into your gear (slings, shackle, slackline, etc.). You will then know if you are using it correctly, meaning correctly regarding the using advices and most important the strength limits.
Click there to see the sheet and enter your datas : calculate slackline tension
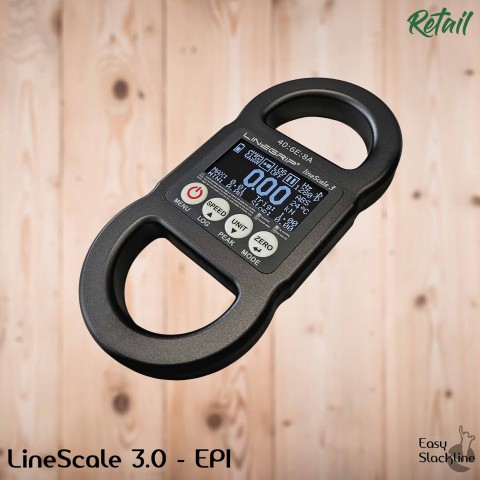
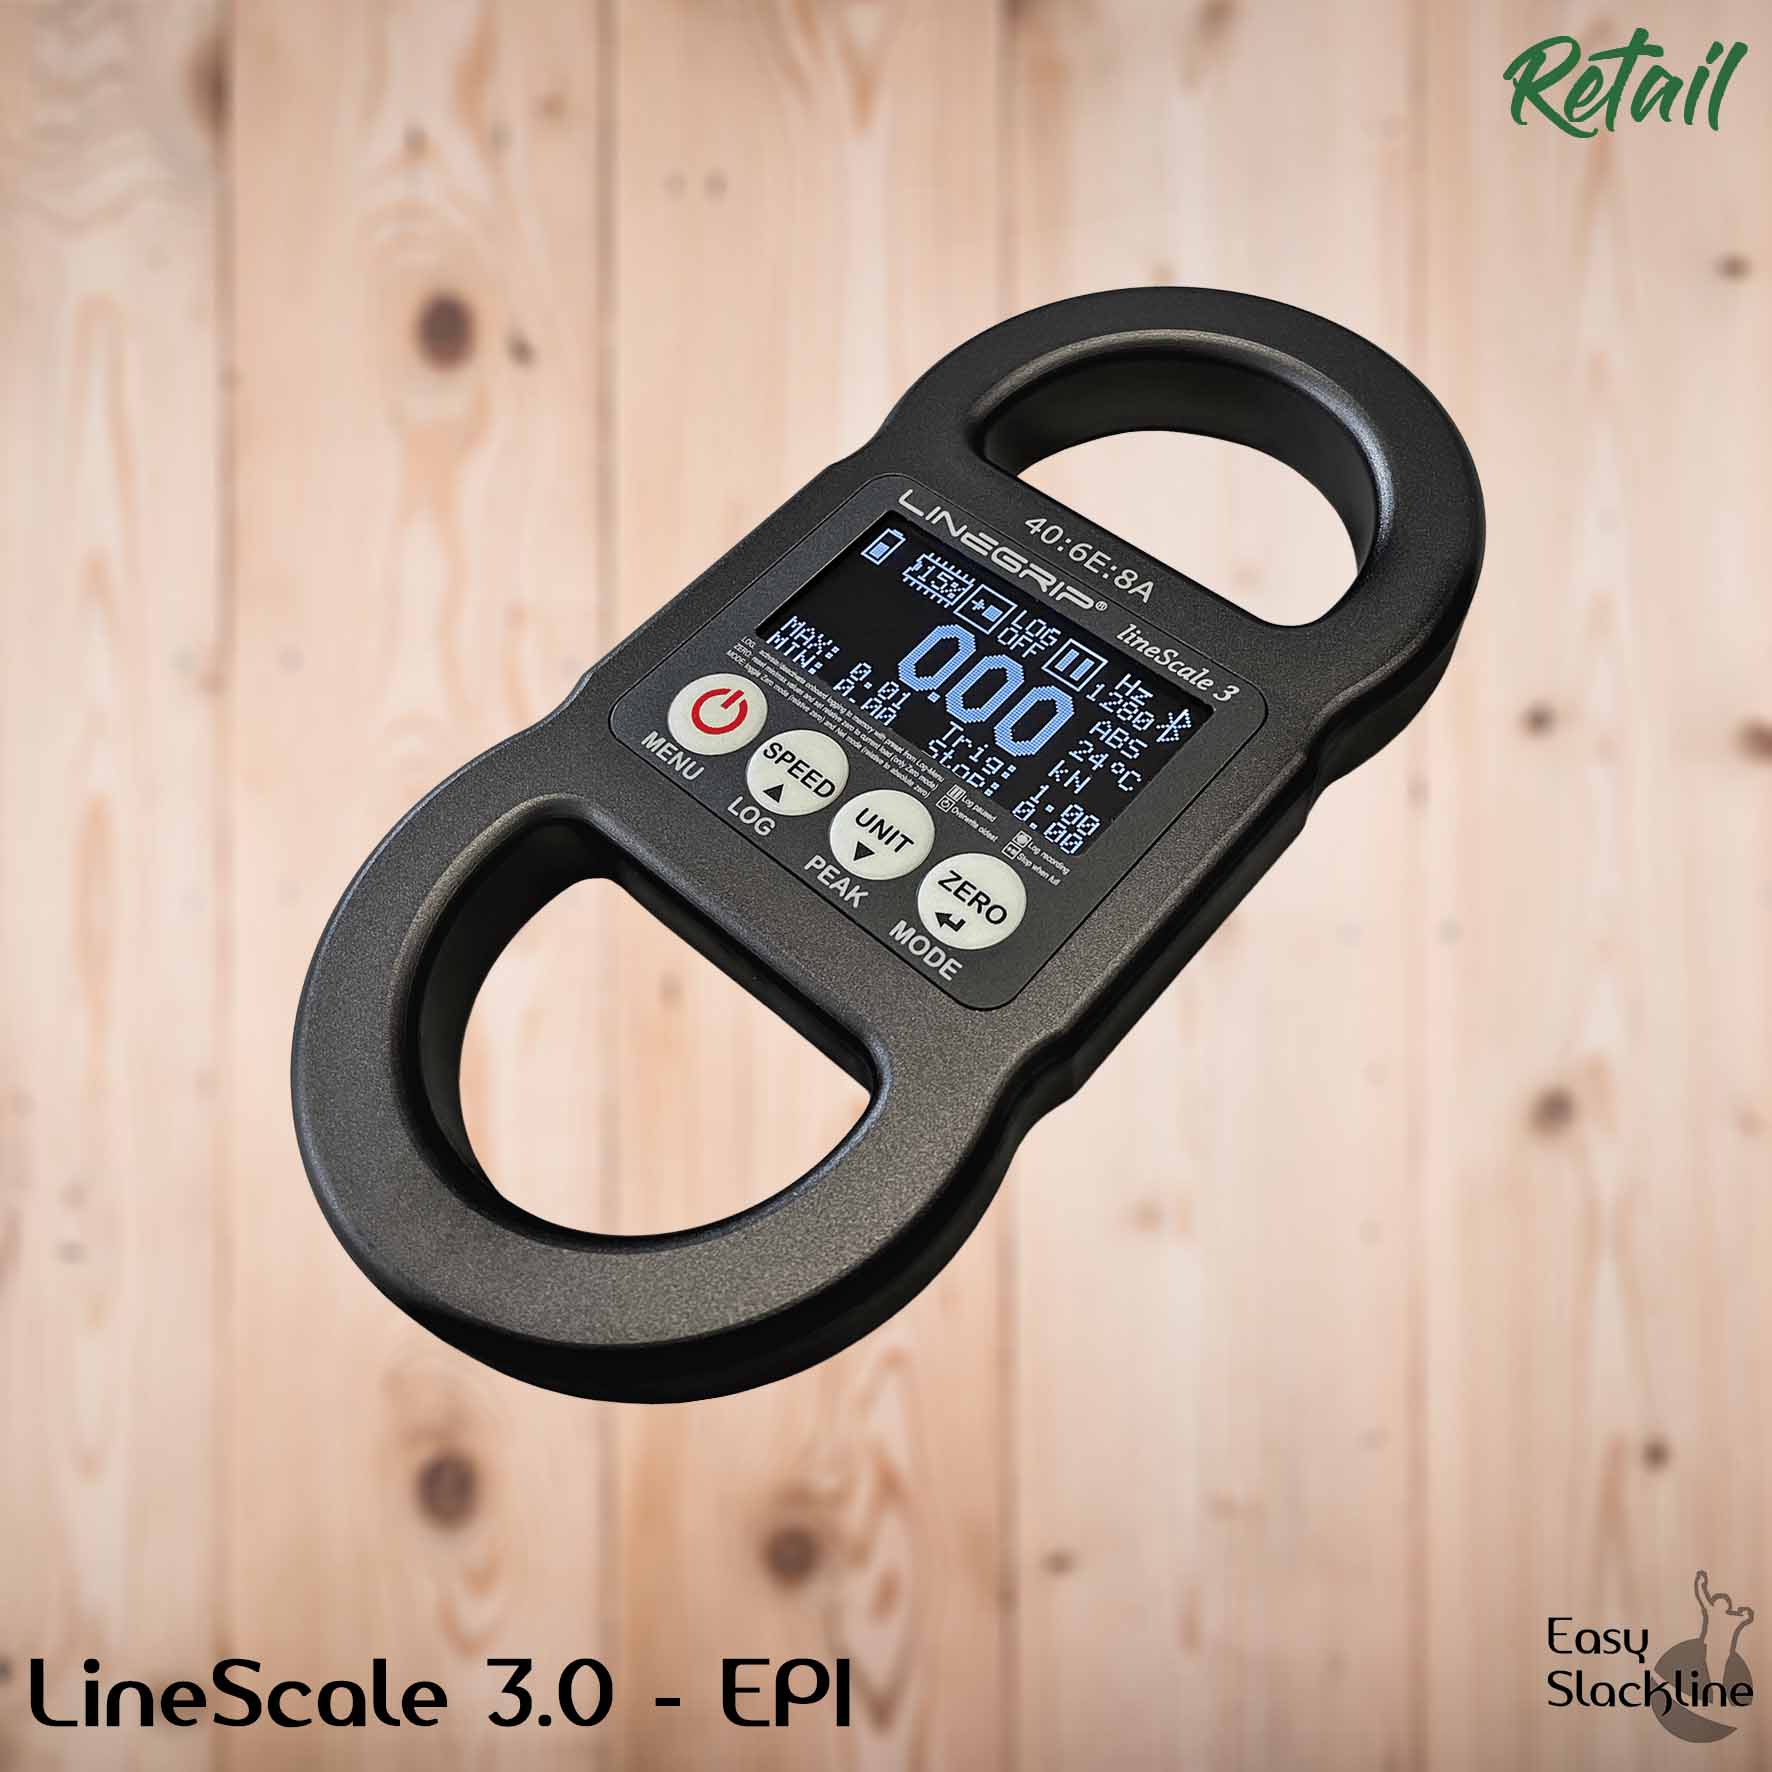
- The Linescale dynamometer
This product allows you to mesure exactly what is the tension into your equipment.
SUGGESTED ADDITIONAL PRODUCTS
-
PushPin 12mm shac...
13,93€ -
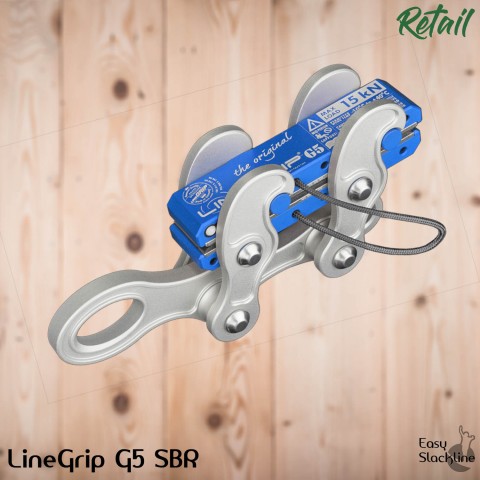
lineGrip
248,00€ -
Dynamometer LineS...
1 185,99€ -
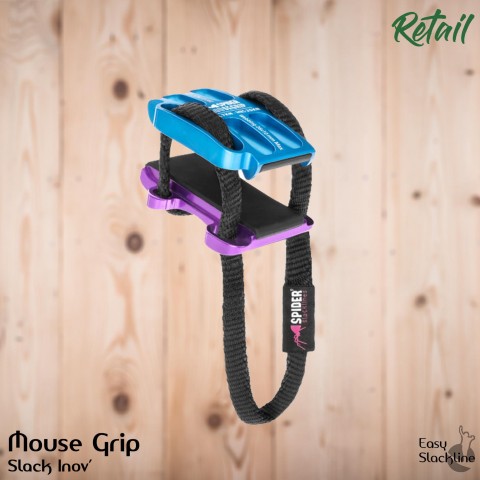
Mouse Grip
109,95€ -
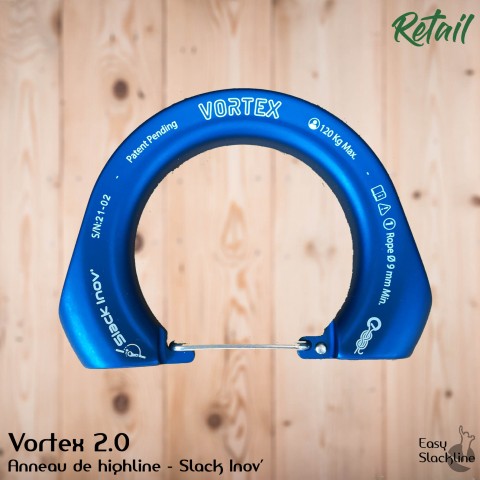
Vortex 2.0 - high...
59,95€ -
Vortex 2.0 - high...
29,95€ -
Vortex 2.0 - high...
34,95€